Los champiñones son una gran fuente de nutrientes y se consumen de muchas maneras diferentes, ya sea como aderezo para pizza o a la parrilla al aire libre con solo una pizca de mozzarella derritiéndose en las tapas sobre el fuego. Los champiñones tienen un alto contenido de fibras, son ricos en antioxidantes, contienen cobre y potasio y tienen muchas vitaminas B. Pero cuando se trata de cultivarlos, ¿cuáles son algunas de las cosas que debes saber de antemano?
Preguntas frecuentes sobre el crecimiento de hongos
¿Se pueden volver a cultivar hongos?
Sí, puede, pero el proceso se considera bastante difícil. Tarda entre 10 y 15 días en hacerlo y, si estás interesado en hacerlo, tendrás que guardar algunos tallos de hongos para eso. Luego puede transferirlos a suelo húmedo, pero hay muchas posibilidades de que se pudran.
¿Qué condiciones se necesitan para que crezca un hongo?
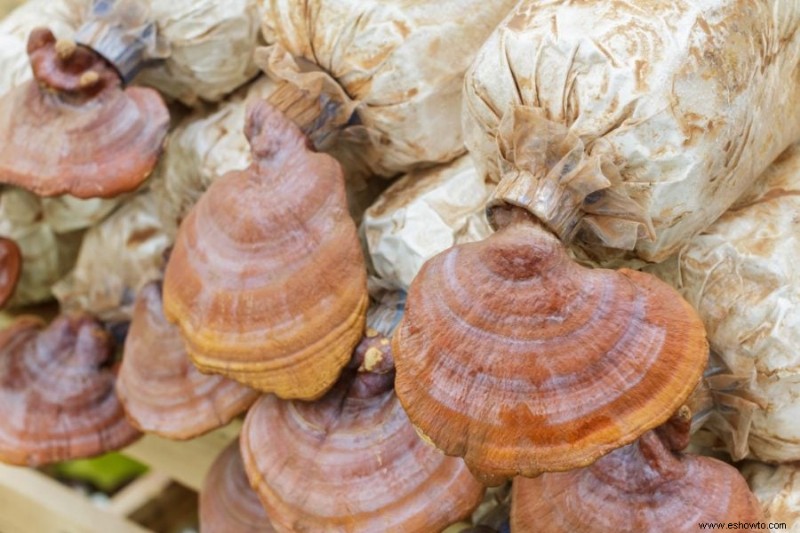
En primer lugar, los hongos necesitan un ambiente húmedo para prosperar, pero el nivel de porcentaje necesario varía de un tipo de hongo a otro. En cuanto a la temperatura, eso también depende de la variedad de hongo (el hongo shiitake necesita temperaturas entre 72 y 78 °F). Otro requisito para el crecimiento del hongo es una combinación adecuada de materia orgánica que contenga nitrógeno, proteínas, grasas, almidón, lignina y azúcar. .
¿Cuánto tiempo se tarda en cultivar hongos?
Una vez más, es importante tener en cuenta que los hongos en diferentes épocas tardan diferentes períodos de tiempo en crecer. Por ejemplo, las trufas pueden crecer en 10 años, mientras que los hongos ostra están listos para cosechar en 10 días. También puede comprar kits de crecimiento de hongos y obtener hongos que crezcan en 10 días.
¿Es difícil cultivar hongos?
Esto depende totalmente de las setas que quieras cultivar y de dónde quieras cultivarlas. La forma más fácil de cultivar hongos es comprar un kit de hongos que básicamente viene con instrucciones y todo lo que necesitas para obtener hongos con el mínimo esfuerzo. Los hongos cultivados en troncos, por ejemplo, tienen un proceso mucho más complicado, por lo que suele ser un desafío mayor para los jardineros no expertos.
Cómo cultivar hongos
Debido a que hay muchas formas diferentes de cultivar hongos, vamos a dividir este capítulo para mostrarte las múltiples formas y pasos en los que puedes tener tu propia cosecha de hongos.
N.º 1:Cultivo de interior con kits de hongos
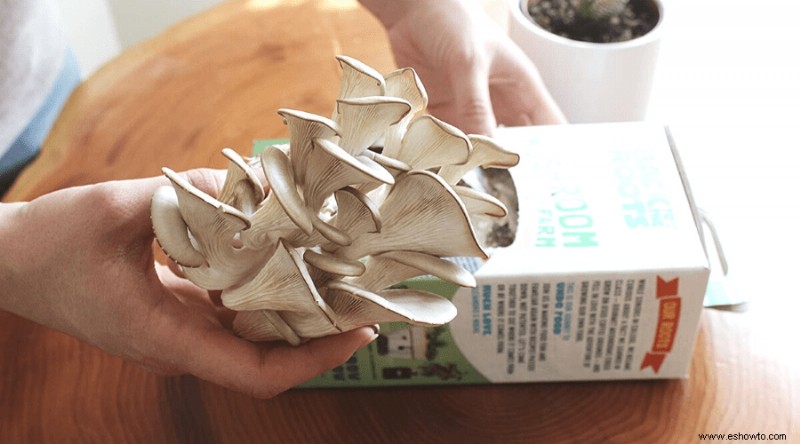
- Los kits de cultivo de hongos vienen con un sustrato ya inoculado e incubado para que pueda comenzar a cultivarlos en el momento en que recibe su kit.
- Por lo general, estos kits requieren que haga un agujero en el mal y agregue agua/vapor a su kit todos los días. En aproximadamente una semana, debería poder ver emerger hongos. Deberían alcanzar la madurez completa en unas dos semanas.
- Los kits de hongos vienen con instrucciones que lo guiarán a través del proceso de crecimiento.
- Usar un kit de hongos es en realidad una excelente manera de obtener hongos si eres un jardinero principiante o si simplemente quieres cosecharlos más rápido. También pueden ayudarlo a comprender más sobre el ciclo de vida de los hongos.
#2:Cultivo de champiñones
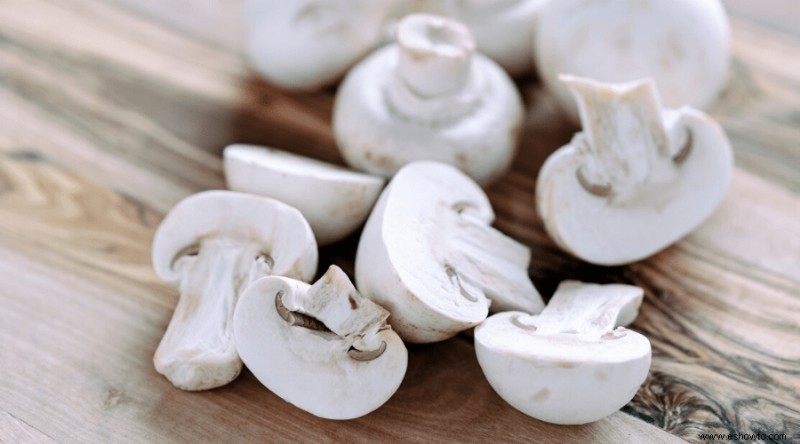
- Estos son algunos de los tipos de hongos más comunes que a la gente le gusta comer. They are likely the ones that you’re used to buying from markets and stores and cooking at home.
- To start growing your own button mushrooms, you will need trays filled with composted manure which then needs to be inoculated with button mushroom spawn.
- Because the soil needs to constantly be at around 70° F, you can place a heating pad underneath the tray. Keep the heating pad there to provide the soil with constant heat for about three weeks (or until you notice mycelium).
- Once you start to notice these threadlike roots emerging from the soil, cover them with an inch of potting soil, and reduce the temperature to 55 or 60° F.
- During this entire time, you will have to spray the soil with water to make sure it stays moist. You might also need to cover the soil with a damp cloth for better results. If you add a cloth on top, make sure you spray that as well; mushrooms need all the moisture they can get.
- Button mushrooms reach maturity in about a month (maybe even less). When they are ready for harvest, you can pick them by using a sharp knife to cut the base of the stem.
#3:Growing Mushrooms Outdoors on Logs
- A lot of people are skeptical about growing mushrooms indoors, even if there is no evidence that this could attract any problems. However, it is also understandable if you want to grow your mushrooms outdoors, and you can grow them on logs or in special mushroom beds.
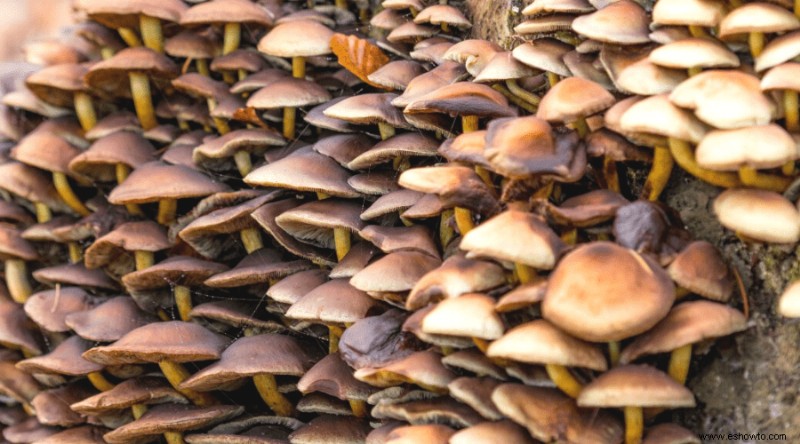
- Mushrooms that grow outside often thrive on hardwood logs. Shiitake mushrooms are the best example of that. The first step for log mushroom growth is to determine the number of spawn plugs you need. For example, a log measuring 4 feet will require between 30 to 50 plugs for complete coverage.
- Drill holes that are spaced 6 inches apart.
- Insert the plug spawn dowels by gently hitting them with a hammer. The plugs should be below the bark’s surface.
- The next step requires you to seal the plugged holes. Wax is the best way to do so (with cheese wax being the most common). You will need to heat up the wax and melt it and then use a wax dauber to apply wax to the holes. Make sure that you cover all the plugs to seal them and protect your mycelium.
- Once all these steps have been completed, you can leave your logs in a shady place. Keep in mind that you want your logs to benefit from good air circulation, but also have them maintain a proper humidity level.
- You can use a hose to water the logs once or twice a week. Never leave the logs to dry out completely or the mycelium will die.
- You can also shock your logs if you want to speed up the growth process. The method implies soaking the logs in cold water for a full day.
- The majority of shrooms grown on logs can be harvested once or twice per year, typically in spring and fall. Since there are different factors that contribute to how fast or slow your shrooms will grow, make sure you check on your logs frequently. It is not uncommon for shrooms to pop up out of nowhere and be ready for harvest.
- Never leave the mushroom on the logs for two long. After three weeks of reaching maturity, they become too tough to be edible. Plus, they will now be exposed to all sorts of pests and diseases.
#4:Growing Mushrooms Outdoors in Beds
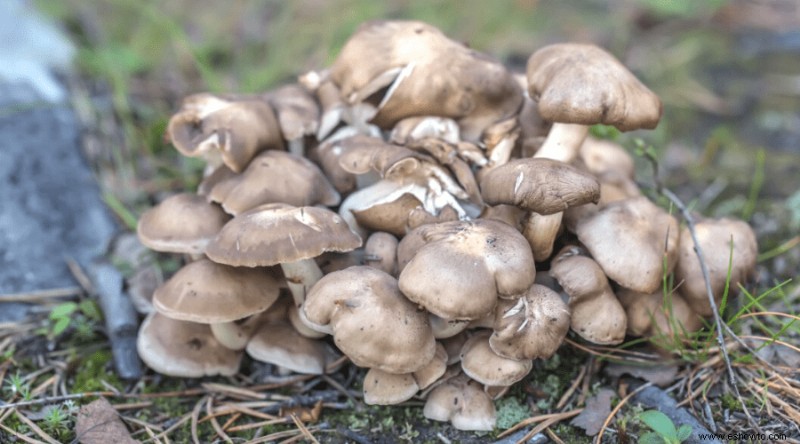
- You can also plant mushrooms in a mushroom garden bed, but you will have to make sure it’s placed outside in a shady spot.
- It is up to you if you want to grow your mushrooms in a regular garden bed or you want to make a raised bed, like the one that’s used for growing other types of vegetables. A lot of people like to make raised beds out of inoculated logs so that they can grow more mushroom varieties.
- Unlike vegetable beds, mushroom beds generally require about 6 inches of substrate.
- The rules for growing mushrooms outdoors in a mushroom bed will vary depending on the type of mushrooms that you’re looking to grow. Some spawns, for example, have different temperature requirements than others, so it’s important to you read the information about your specific spawn.
- If you are a beginner gardener or have never grown mushrooms before, wine caps are a really good variety to start with. Experts recommend avoiding growing button mushroom outdoors as there are several other poisonous varieties that look a lot like button shrooms in their early stages of growth.
Conclusion
Unlike other things people grow in their garden, mushrooms are very distinct and rather pretentious when it comes to the growth process. The good news is that you have many different options when it comes to how you want to grow your shrooms, but some of these methods are really complex and not the most suitable for beginners.
If you are interested in growing your own mushrooms, buying a mushroom kit is a great idea for starters. It will teach you more about the way in which mushrooms grow and as you begin to understand their growth cycle, you will be able to tackle more difficult mushroom growth challenges.

