
¿Sabías que puedes regenerar vegetales a partir de sus restos? Hierbas, cebolletas, lechuga y apio son opciones populares, pero también las zanahorias. Aunque la raíz principal (la parte naranja) no se regenerará, cultivar zanahorias a partir de zanahorias te permitirá obtener verduras frescas y semillas. Como experto en jardinería, esta guía te muestra cómo hacerlo de forma sencilla y efectiva, ideal para toda la familia.
Las zanahorias son plantas bienales, lo que significa que producen flores y semillas en su segundo año. Hasta entonces, generarán abundantes hojas comestibles. Sigue estos pasos probados para un éxito garantizado.
Materiales necesarios
Antes de empezar, prepara estos elementos esenciales:
- Zanahorias o semillas de zanahoria
- Guantes de jardinería
- Paleta (opcional)
- Cuchillo afilado
- Cuenco poco profundo
- Tierra para macetas
- Maceta (opcional)
- Tijeras
- Bolsa de papel marrón
Paso 1: Corta las zanahorias
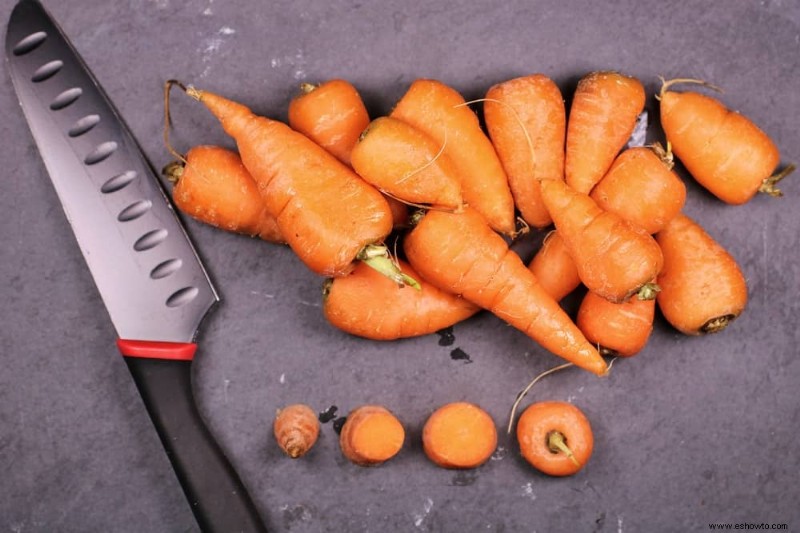
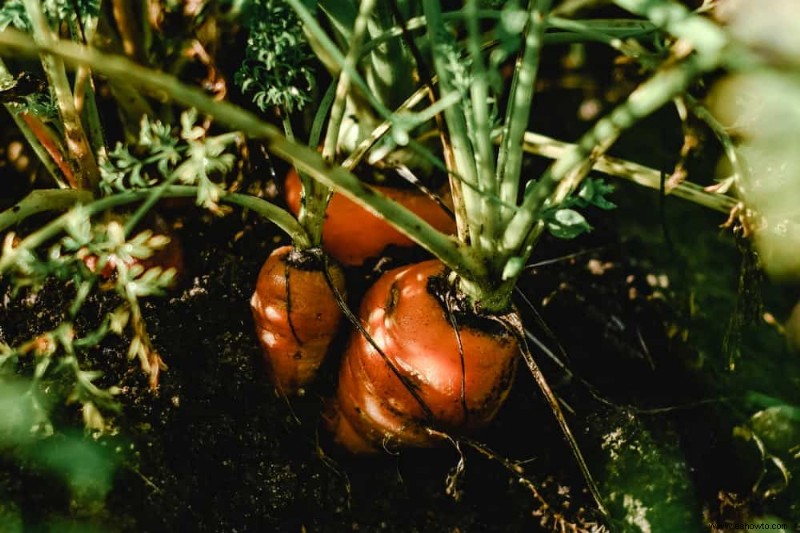
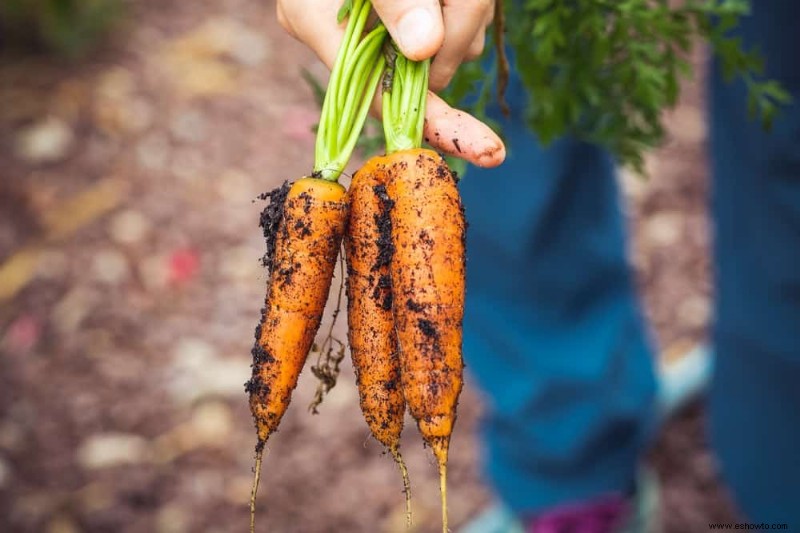
Usa zanahorias frescas de tu huerto, mercado local o supermercado. Si son de tu jardín, emplea una paleta para extraerlas sin dañarlas.
Corta un trozo de unos 2,5 cm (1 pulgada) del extremo superior con hojas. Asegúrate de incluir cicatrices laterales de raíz (líneas visibles); ahí brotarán las nuevas raíces, que podrían ya estar emergiendo.
Retira las hojas si las hay, para evitar peso extra; úsalas en sopas, ensaladas o como perejil. ¡No olvides disfrutar la zanahoria principal!
Paso 2: Coloca las zanahorias en agua
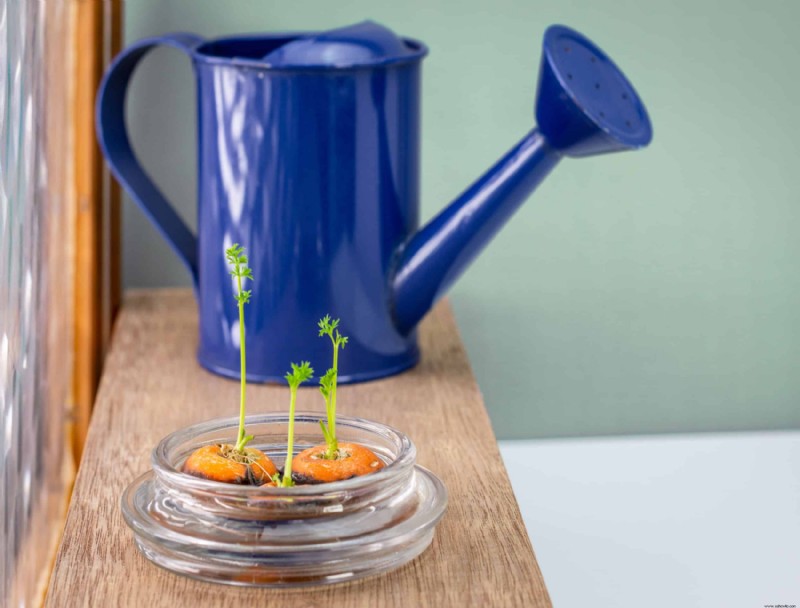
Llena un cuenco poco profundo con agua hasta cubrir la mitad del trozo de zanahoria. El lado cortado debe estar en contacto con el agua para formar raíces, pero la parte superior no debe mojarse para evitar pudrición.
Coloca el corte hacia abajo. Si es inestable, usa palillos como soporte.
Paso 3: Espera y observa
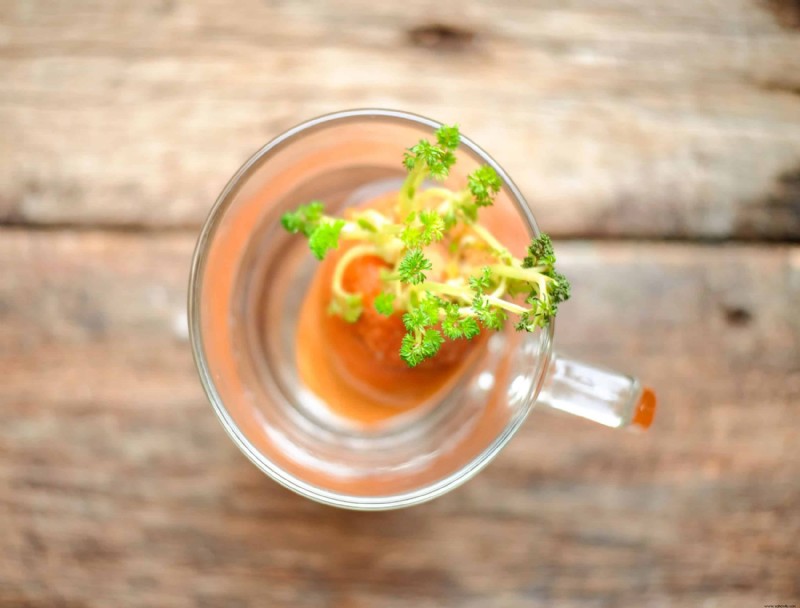
Ubica el cuenco en una ventana soleada. En pocos días, verás raíces blancas y hojas nuevas. Come las hojas si lo deseas y cambia el agua cada 3 días. No demores el siguiente paso para evitar pudrición.
Paso 4: Planta las puntas de zanahoria
Cuando las raíces sean visibles, transfiere a una maceta con tierra para vegetales. No necesita ser profunda, ya que no formará raíces largas.
Haz un agujero, planta el trozo dejando la corona expuesta, riega y coloca en luz brillante indirecta por una semana, luego al sol pleno. Puedes trasplantar a jardín o mantener en interior con sol abundante y riego regular.
Paso 5: Cosecha semillas y hojas
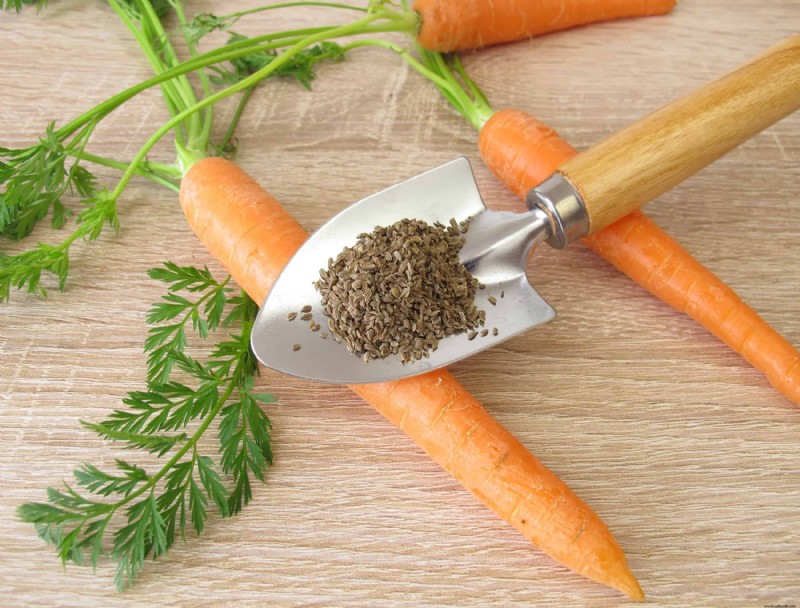
Sigue cosechando hojas para consumir, pero deja crecer el resto para semillas. Aunque la raíz no regresa, las flores producirán muchas semillas.
En exterior, espera a primavera para floración; en interior, antes. Corta las cabezas de semillas secas con tijeras y colócalas en una bolsa de papel para secar semanas. Extrae semillas oscurecidas y almacénalas frescas en lugar seco para plantar en primavera.
Enmarcado en frío
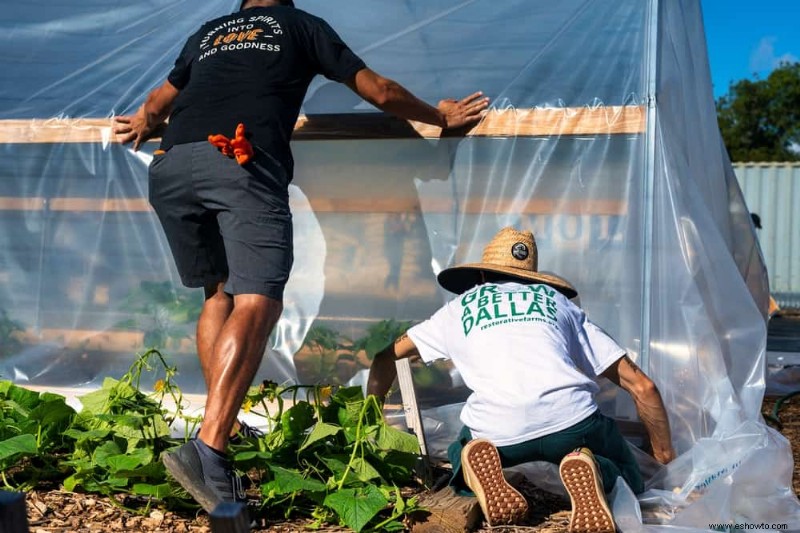
Si tienes zanahorias en el huerto, deja algunas en tierra durante invierno: florecerán al año siguiente para semillas. Nota: no serán comestibles entonces. Para climas fríos, cosecha progresivamente en invierno para frescura óptima sin almacenamiento.
Conclusión
Cultivar zanahorias de restos es un experimento divertido y práctico para obtener semillas propias. Las copas crecen rápido, permitiendo multiplicar variedades favoritas. ¿Cuál es tu variedad preferida? ¿Has cosechado semillas? ¡Comparte en comentarios!