Ya sea que desee aprovechar al máximo un área de su jardín que es difícil de mantener, o simplemente desee darle vida a su jardín delantero o trasero, los jardines de rocas son una excelente manera de hacerlo. Por lo general, cuando piensas en un jardín, generalmente piensas en follaje verde, flores y colores brillantes. Sin embargo, una de las partes fundamentales pero menospreciadas de nuestros jardines son las rocas. Si agrega rocas a su jardín, incorpórelas en el diseño y haga que se destaquen entre su follaje; tienes un jardín de rocas.
Al igual que las plantas, las rocas también vienen en diferentes formas y tamaños. Aunque tienden a estar dentro de un rango de color o tono selecto; esto también se puede utilizar como una ventaja. Los tonos tierra y los colores de las rocas y piedras provocan una cercanía natural con la naturaleza. Puede utilizar la forma robusta y única de estas rocas para crear un jardín o césped distintivo. Siga leyendo para descubrir cómo puede construir su propio jardín de rocas y varias ideas, consejos y trucos que lo ayudarán a inspirarse para su propia aventura de jardinería.
¿Qué es un jardín de rocas?
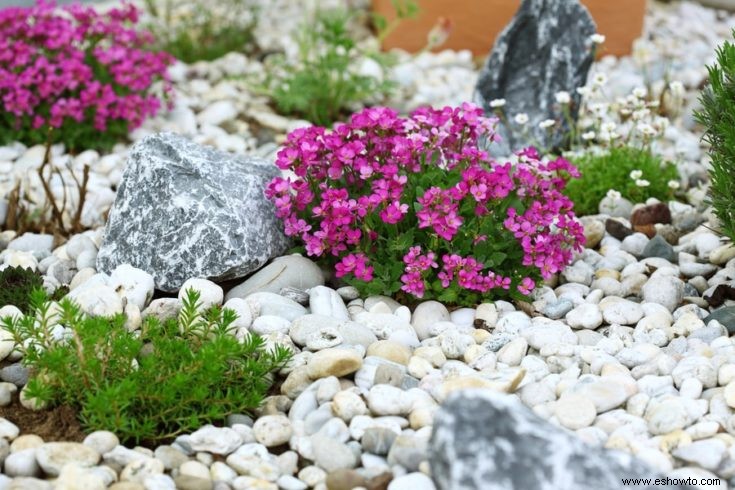
Para empezar, primero comprendamos qué es exactamente un jardín de rocas. ¿Qué comprende un jardín de rocas? ¿Puedes colocar algunas piedras pequeñas en tu jardín delantero para cubrir un poco de césped irregular y llamarlo un jardín de rocas, o hay más método para esto de lo que parece?
Un jardín como este es básicamente una pequeña sección o área de tierra que se usa para destacar o enfatizar las rocas. Estos son excelentes para el paisajismo en espacios abiertos y áreas grandes. Sin embargo, el único propósito de estos jardines no es solo verse bien. Hay una forma de jardines de rocas que se llaman jardines de rocas zen o japoneses. Este jardín zen de rocas utiliza una variedad de varias piedras, plantas muy pequeñas, fuentes de agua, musgo, arena y piedras pequeñas. Se utilizan con el propósito de la meditación. Estos jardines zen fueron diseñados para crear y despertar el espíritu de la naturaleza.
Por lo tanto, es un arreglo intencional de rocas y piedras, que resalta o llama la atención sobre las rocas utilizadas. Sin embargo, no existe una forma correcta de diseñar o configurar su jardín de rocas. Puede elegir hacer su jardín de piedra como desee, hacer su propio arreglo de rocas y usar el tipo y estilo de rocas y otros accesorios que desee. Sin embargo, es una buena idea obtener consejos sobre cómo preparar una base o colocar las rocas para su jardín de rocas. Esto es esencial para evitar que la lluvia u otras características del agua causen problemas o que otras plagas del jardín, como las malas hierbas, arruinen la estética de su jardín de rocas.
Conceptos básicos de diseño de jardín de rocas de bricolaje
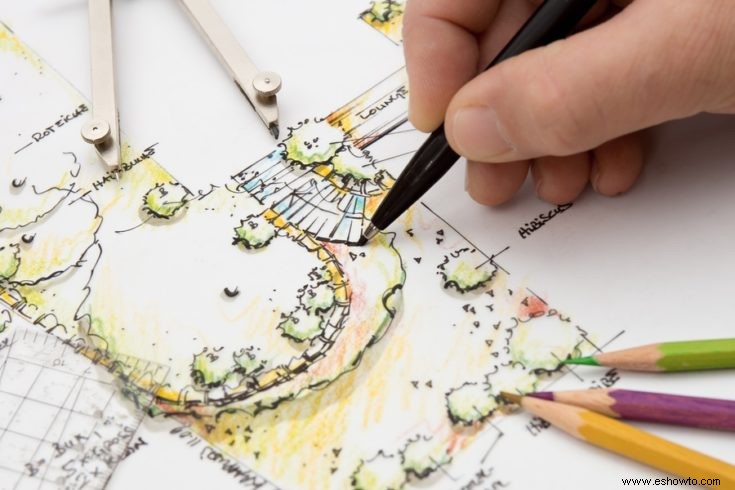
Lo más importante que debe recordar acerca de hacer o construir un jardín de piedra es que requiere más fuerza física en comparación con los jardines normales. Por eso, es importante haber pensado bien nuestros planes y una buena preparación, para evitar trabajos innecesarios o trabajo físico. Puede ser una buena idea dibujar el diseño o la ubicación antes de mover las rocas.
AA, como se mencionó antes, algunas personas usan jardines de rocas para mejorar o transformar áreas problemáticas en sus jardines o patios, como pendientes rocosas. Otras personas también traen rocas para incorporarlas a sus jardines. They use these to add dimension to lawns or yards that do not have rocks or that are flat. When they bring in rocks to add to their gardens, stronger and more study rocks are required but, in the end, it is worth the effort. You can look up rock garden ideas to get inspiration on how people have transformed their lawns.
Something else to consider when building your rock garden is how much space you have available. When you have a large space available the goal is usually to create a sprawling and natural looking rock gardens.
However, with small spaces, you can opt to create raised flower beds of rocks with well selected small rocks. By choosing a design like a raised rock garden bed you can easily fit in small spaces and crevices that you have in your garden. This will ensure that the rock garden is not in the way when you mow your lawn and that it is low maintenance.
The third thing to remember in the basics of rock gardening is the importance of color. For instance, you can use a red sandstone to give your rock garden a structure that is not only aesthetically pleasing but also functions well. You can wash out the red sandstone to enhance its red color to its full extent.
The color scheme, in turn, will lead to the selection of plants and will influence your choice of them as well. In the case of the red sandstone, you will need some plants that will work with the color scheme. It would be best to use plants that have subtle hues of red in them as well as complementary colors such as white, yellow, and silver.
Another aspect to consider is the type of stone for your overall purpose. Sandstone is not a very durable material. It tends to crumble over the course of time and generally tends to be in the process of turning into soil. If your main goal is the beauty or aesthetic of this look and not durability, then sandstone is the choice for you. However, if you are looking for longevity and durability then you should consider other stones such as granite.
There are some basic tools you will require once you have decided on building your rock garden. The tools and supplies you will need are:
- Plants
- Stones
- A trowel
- A shovel
- Tape measure
- Wheelbarrow (To move things such as compost and soil)
How to Build a Rock Garden
1. Clear off a section of land
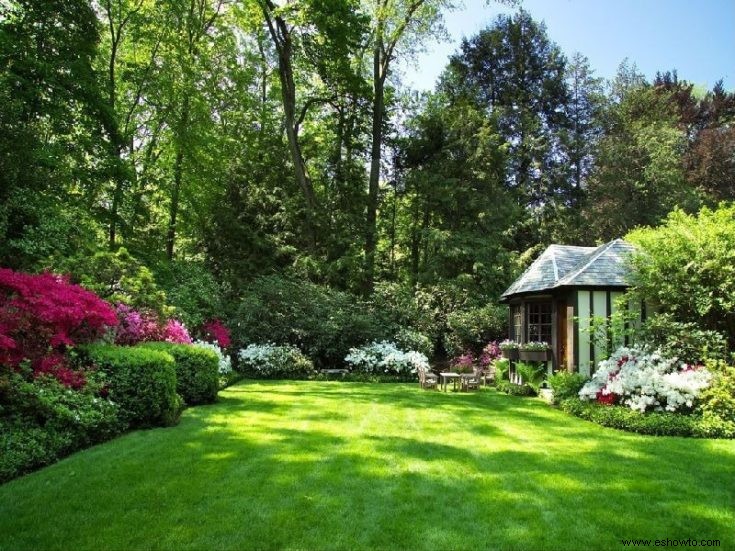
The first step to building your stone garden is to make some space for it within your lawn or yard. Generally, rock gardens have some elevation from the ground that surrounds them. When you create your own raised bed, this means that you need to first lay a course of rocks and soil and then built upon that.
If the ground that you wish to build your rock garden on is currently covered with grass, you should first figure out what you would like to do with the grass. What you do not want is for the grass to start growing in and around your rock garden later on. If you already have a cleared-up space, you can move on to the second step.
One solution to this is that you can dig up the grass beforehand and then lay down your rocks. However, an alternative easier method is to place a layer of newspapers over the grass and then put some dirt over top of them in order to hold the newspapers in place.
The layer of newspapers will prevent the grass from getting nutrients such as sunlight and water that it needs and will eventually smother and cause the grass to decompose. The newspaper is a good idea as it will also decompose over time and not cause damage to the garden in any other way.
However, even before the decomposition of the grass starts you will still have completed the first step towards your rock garden; which is to clear up space.
2. Plot Your Design
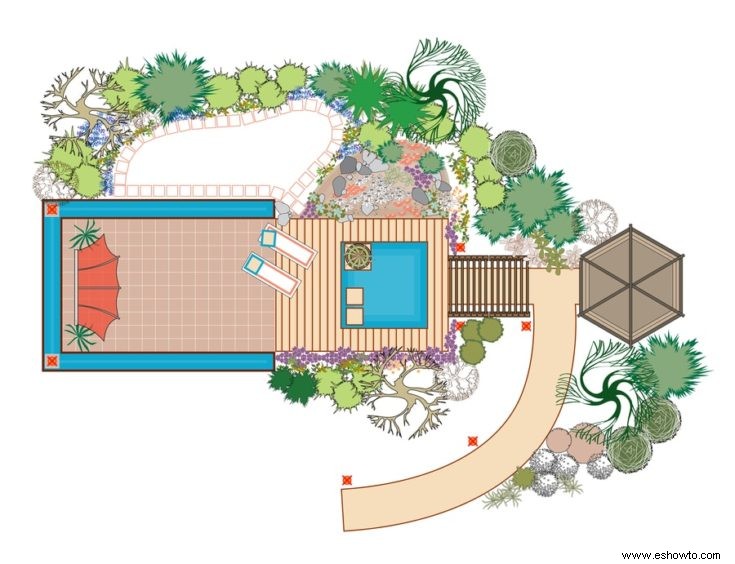
If you already have an area cleared up, you can skip the step of putting a layer of newspaper and move on to planning your placement. A good idea is to plan out exactly what you want to with your land and area. This is important to do before you start work in order to avoid doing extra heavy lifting.
You can plan out the design by using inverted marking paint. That way you will have a good idea of what the stone garden should look like. You can look up some rock garden ideas to help you out in planning as well.
Another good tip is to add in some materials on top of the cleared area or newspapers that will help with increasing the soil drainage and also you can a layer of a weed resistant fabric if weeds are common for that area.
3. Choose Your Rocks and Lay Down the First Layer
The next step is to select the rocks you want to use, you can choose rocks based on what you have available at your local gardening or landscaping store or you can choose to purchase some from stone suppliers. Most of the small stones and rocks should be available from the gardening or landscaping stores, maybe near the mulch. However, for the large boulders or rocks, you will have to contact stone suppliers and their quarries.
If you already have your stones and rocks or at least some basic ones to start with you can lay down the first layer of stones and soil. This is to create that elevated bed for your rock garden. If, however, you are going for a larger more sprawling look you should place your heavy boulders first and use them as guidelines to make your design. You can again look up some designs or tips for rock gardens to help you out.
For the raised bed lay out a circle of rocks as the perimeter for your rock garden bed, optionally you can use any other shape that you want as well but for the base, a circle is recommended. In this case for a small rock garden bed, you can keep the width of the base about four feet in diameter. It is a good idea to use your bigger and more unattractive rocks for this bottom layer.
There are two reasons to do this, firstly by using your heaviest rocks you will not have to lift these for the next layer. Secondly, the first layer will be less visible, so it is a good idea to use the more unattractive rocks and then showcase the more attractive rocks in the second layer.
4. Add in the Soil
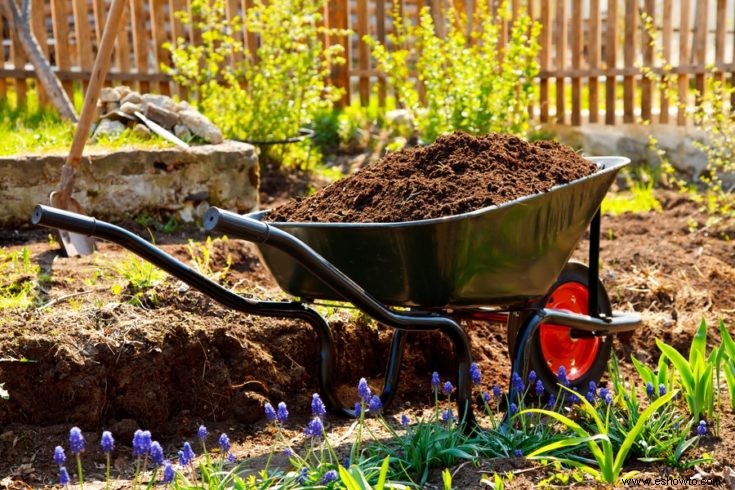
Now that you have the first layer of rocks in place, you need to add in the soil to fill it up. Generally, for rock gardens, plants that require a type of soil that provides good drainage are used. This means that you require the use of sandy soil.
If by chance you do not have sandy soil you but have clay-like soil you can add some sand to it and compost in order to encourage better drainage.
Shovel the soil into the circle or bed created by the rocks. Once the soil is filled in the bed, it is a good idea to walk on the soil to help settle it and pack it down. Later in order to complement the sandy and high drainage soil, you will add plants to your rock garden that are typically used in rock gardens and prefer high drainage soil.
5. Lay Down the Second Layer of Rocks
Now for the second layer of the raised bed of the rock garden, you need to make a smaller raised bed within the first one. You simply have to make another circle of rocks but with a smaller diameter as compared to the first, so you form a circle within a circle.
When making this smaller circle of the rock garden you need to ensure that the second circle is small enough such that it leaves a sufficiently wide enough perimeter between the first circle and itself. The area between the two circles should be wide enough such that you can place the plants inside it. As well as the area within the second circle should be wide enough for a small plant to be planted there.
Since you will have used the heaviest stones for the first layer of the rock garden be, you will have the lighter stone left over to use for the second layer. This will make it easier for you to lift and maneuver these stones to use for the second layer. However, it is okay to save one or two heavier stones or rocks for the second layer if you feel they are exceptionally good looking or pretty. The second layer of rocks will be more visible and catch the eye of the viewer as they will be closer to the eye.
6. Planting the Plants
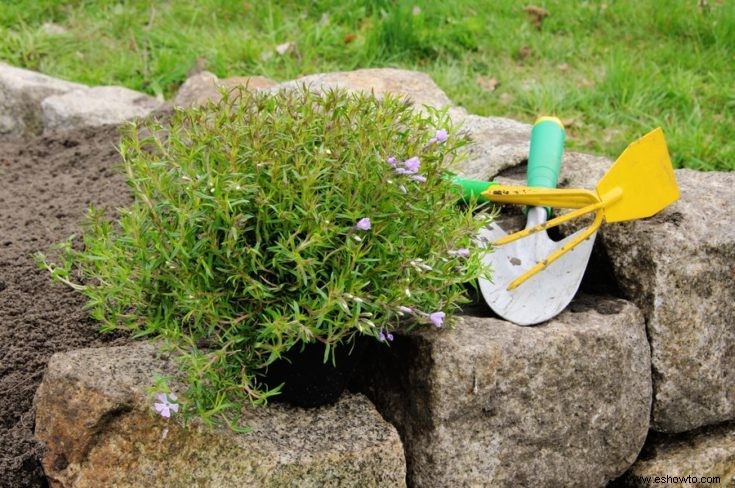
Now it is time to consider the flowers for your rock garden. In an ideal world, the selection of the plants used for your rock garden would be entirely based on the color schemes. However, there are many other factors that need to be considered in reality as they can interfere in the choices we make.
One of the biggest issues with relying solely on color schemes for landscaping is the fact that plants are actually alive, and this is a big contrast to other things such as painting or other projects where you can base choices on color schemes. Due to the fact that plants are living things, they have certain requirements that we need to consider in order for them to stay healthy and alive. So, the choice of plants can be based on color schemes, but it cannot be limited to just that.
There are several things to consider when trying to choose the right plants for your rock garden. As mentioned above, one of the most important things to consider is drainage. It is a good idea to look for plants and foliage that you can use in your rock garden that like good drainage. These are plants that grow best when water easily drips through their soil.
It would be a bad idea to add a plant that grows well in wet soil into this mixture even if it goes really well with the color scheme. You should only put plants of similar nature and growing requirements together in order to help them grow and last longer. If you place plants with different requirements for growth together, they may look good temporarily however, in the long run, it will be hard for them to thrive in your rock garden.
Aside from drainage, there are some other things to consider, such as how much sunlight the plants require, and how much they need to be watered. If you have a spot for your rock garden that is highly exposed to the sun, then it would be a good idea to choose plants that thrive in a lot of sunlight and then group similar plants together to make the best of your chosen spot and plants.
Finally, you should choose plants that vary in leaf texture, plant height, and size. This adds a nice visual effect and looks more natural. Some popular rock garden plants include sedum, succulents, and phlox.
To get the best selection of plant for your rock garden, you should make a list with the following criteria and make sure each of your plants meets these criteria.
Criteria list:
- Make sure it fits the color scheme
- It should prefer good drainage
- Requires a moderate amount of water
- Thrives in a sunny environment
- There is a variety of sizes and texture
The Bottom Line
Rock gardens can be a great way to add some life to your lawn or yard. The best rock gardens are those that give a natural look and help you enhance your garden. You can build a rock garden utilizing a rocky or uneven section of land within your lawn to create a sprawling rock garden. However, you can also build a smaller rock garden by adding external rocks to your lawn or yard as well. The most important step in making a rock garden is to plan well before you begin. Hopefully, this guide was helpful in getting started on building your own rock garden.

