
Los bulbos de plantas almacenan el ciclo de vida completo en un sistema subterráneo. Se dividen en dos categorías: bulbos tiernos, que no resisten el congelamiento y deben guardarse bajo techo en invierno, y bulbos resistentes, que permanecen en el suelo indefinidamente.
Los bulbos de flores son favoritos de los jardineros porque muchas variedades resistentes florecen primero en primavera, aportando color a jardines dormidos antes que las perennes. Incluyen tulipanes, narcisos y jacintos. Otras, como gladiolos y dalias, destacan por sus flores espectaculares y duraderas en verano.
Los bulbos son fáciles de cuidar y requieren poco mantenimiento, pero es clave conocer las variedades para evitar errores, como dejar bulbos tiernos al exterior. A continuación, explicamos cómo almacenarlos en invierno, plantar bulbos, herramientas necesarias, diferencias entre variedades y tiempos de floración. ¡Sigue leyendo para cuidar tus bulbos perfectamente!
*También te puede interesar: Protegiendo tus plantas del frío invernal.
Herramientas necesarias para plantar y almacenar bulbos
Elige el lugar ideal para tus bulbos y marca las zonas para evitar desenterrarlos accidentalmente. Funcionan bien en contenedores o jardineras, sin limitaciones de espacio.
Para plantar
- Bulbos de tu elección
- Paleta de jardín o plantador de bulbos
- Pala de jardín (para plantaciones profundas y preparación del suelo)
- Recipientes y tierra para macetas (para bulbos en contenedor)
- Opcional: fertilizante general
Para almacenar
- Cajas de cartón, bolsas de papel o malla (o pantimedias viejas)
- Pala o llana de jardinería
- Área fresca, seca y sin congelación, como garaje o sótano
Cómo plantar tus bulbos
Paso 1: Elige los bulbos adecuados para la temporada de siembra
Determina si son resistentes (plantar en otoño para floración primaveral, resisten frío) o tiernos (almacenar en otoño, replantar en primavera tras la helada para flores veraniegas). Revisa la etiqueta del paquete. 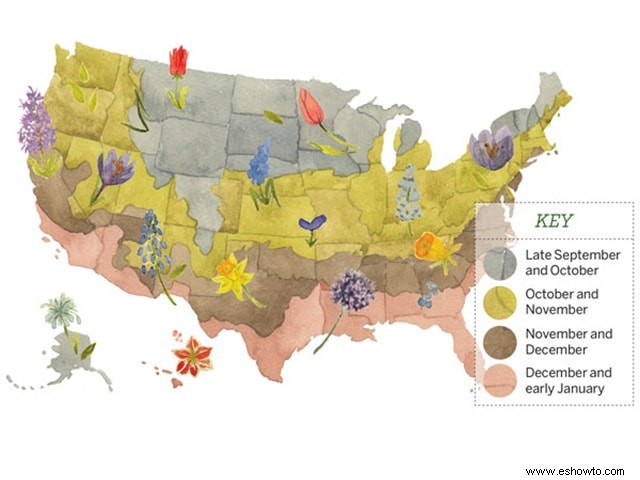
Fuente
Paso 2: Localiza el área de plantación
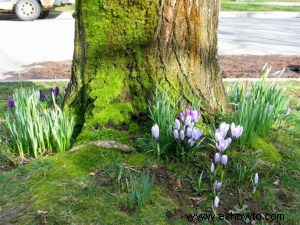
Los bulbos florecen y vuelven a dormancia, permitiendo plantar perennes encima. Ideales en lechos bajo árboles o arbustos para color primaveral. Prefieren sol, pero toleran sombra inicial. Recuerda que los resistentes quedan en suelo todo el año; trasládalos si modificas el jardín. Fuente

Paso 3: Prepara el suelo
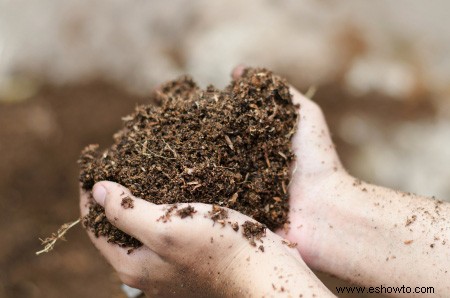
Evita zonas encharcadas, ya que los bulbos necesitan drenaje para oxígeno. Afloja el suelo y añade compost o turba para retener humedad y nutrientes sin saturar. 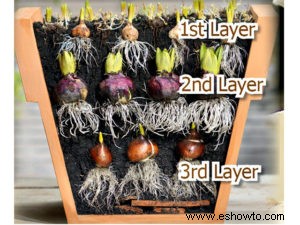
Paso 4: Determina el diseño
Capas bulbos por época: tempranos (azafranes) arriba, tardíos (tulipanes) abajo. Planta a 10-15 cm entre bulbos (más cerca para pequeños). Fuente
Paso 5: Excava los hoyos
Profundidad varía: superficial para tempranos pequeños, profunda para tardíos grandes. Usa plantador de bulbos y sigue instrucciones del paquete. Nota profundidades para tiernos. 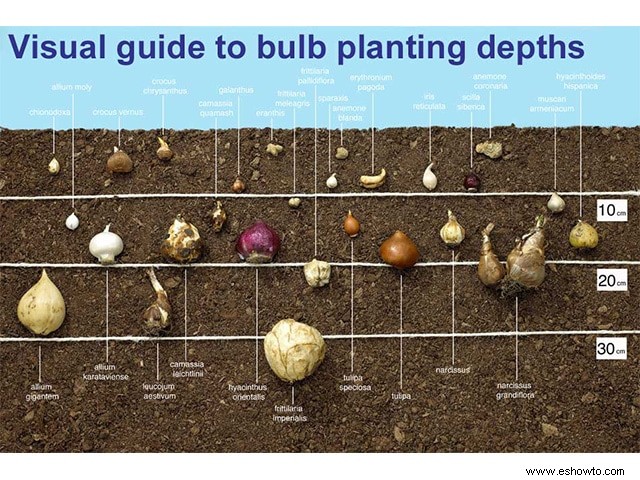
Fuente

Paso 6: Planta los bulbos
Orientación: punta arriba para brotes, base redonda para raíces. La mayoría se corrigen solos, pero evítalo. Son resistentes y pueden dormir años. Fuente
Paso 7: Cubre, fertiliza y mulcha
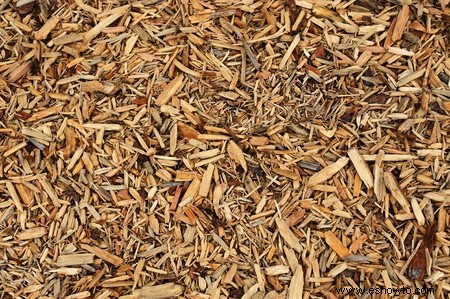
Añade fertilizante general y mulch para calor, nutrientes y control de malezas. 
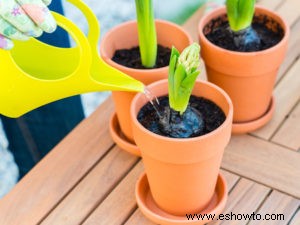
Paso 8: Riega
Riega abundantemente al plantar y mantén hasta la primera helada. Zonas bien regadas florecen primero y más grandes.
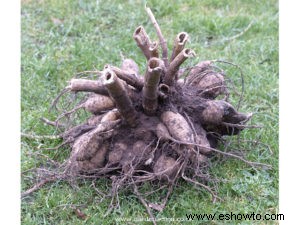
Paso 9: Divide y replanta cada pocos años
Desentierra clumps tras dormancia, divide y replanta para expandir. Sé paciente con pequeños. 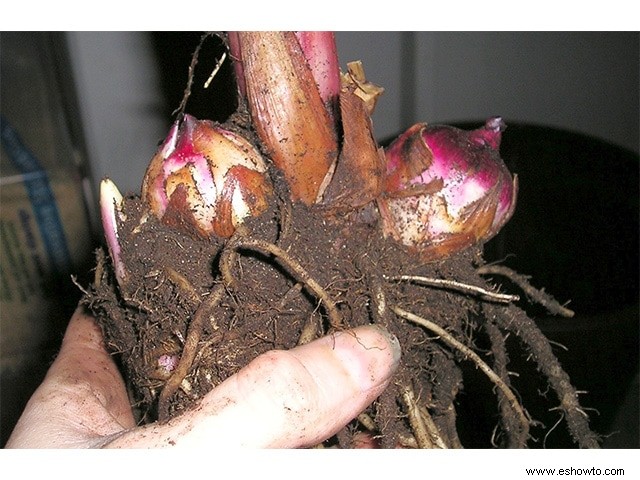
Fuente
Cómo almacenar bulbos de plantas para la próxima temporada
Desentierra tiernos tras dormancia post-helada. Aprende señales por variedad.
Paso 1: Prepara un contenedor adecuado
Usa bolsas de papel, cartón o malla para transpiración. 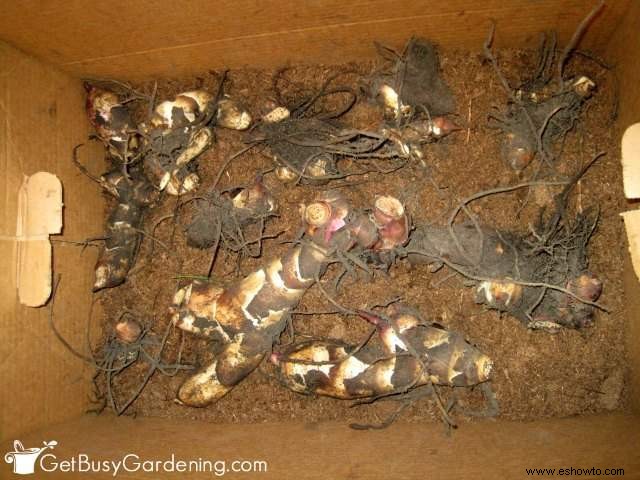
Fuente
Paso 2: Poda el crecimiento anual
Corta tallos y hojas a 7-8 cm del suelo con tijeras. No dañes bulbo; usa fungicida si ocurre. 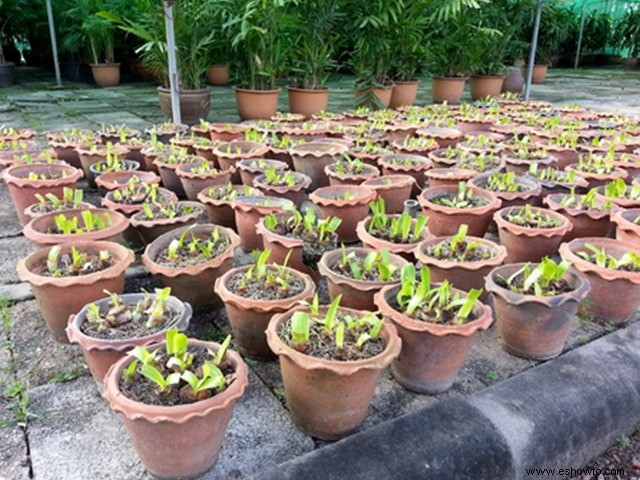
Paso 3: Desentierra los bulbos
Con cuidado para evitar perforaciones (usa fungicida si pasa). 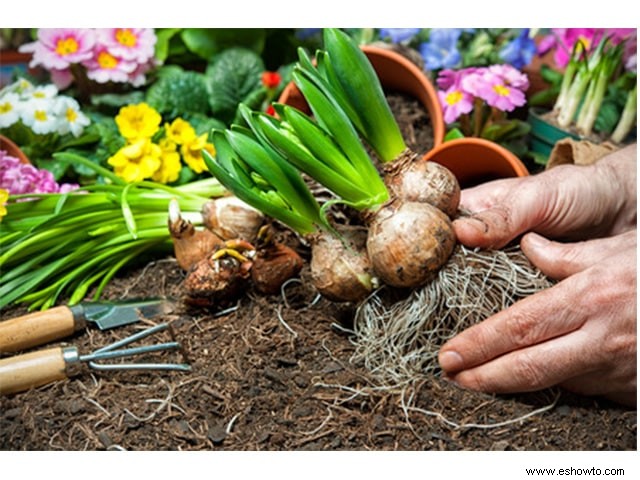
Paso 4: Limpia, seca o prepara según variedad
cepilla tierra seca sin agua. Seca al aire si húmedos. Fuente
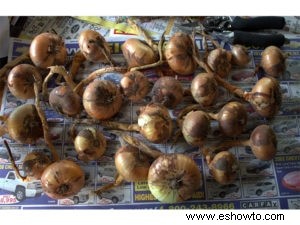
Paso 5: Almacena los bulbos
Limpios y secos, guárdalos en contenedor fresco/seco. Etiqueta, usa periódico entre capas para aire. Fuente
Para bulbos primaverales que perdieron otoño:
Refrigera 6-8 semanas para frío. Planta tras descongelación. Algunos tardan un año. 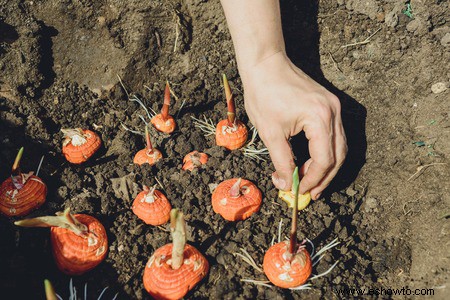
¡No esperes más!
Planifica plantar bulbos este otoño para color primaveral. Son fáciles: planta en temporada, prepara suelo, riega sin saturar, desentierra tiernos post-helada y almacena bien. ¡Tu jardín revivirá! 
- Planta en la temporada correcta
- Prepara suelo y profundidad adecuada
- Mantiene bien regado, no saturado
- Desentierra tiernos tras primera helada
- Usa métodos de almacenamiento transpirables
¿Preguntas, comentarios o tips? ¡Déjalos abajo y comparte!