
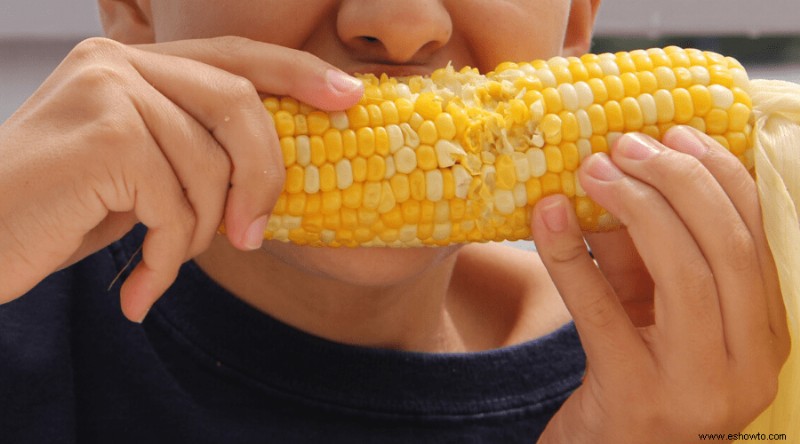
Nada es mejor que la mazorca de maíz caliente, empapada en mantequilla, que se come en el porche trasero con tanto entusiasmo que los granos terminan untándose por toda la cara. Es decir, nada es mejor que la mazorca de maíz fresca y caliente. El maíz recién cosechado es increíblemente jugoso y dulce hasta el punto de que comer el maíz de la tienda de comestibles parece tan atractivo como masticar un cartón mojado.
Sin embargo, no se preocupe porque el maíz fresco arruine el maíz de la tienda de comestibles, porque con este tutorial completo, aprenderá a cultivar maíz en su patio trasero. Después de seguir los seis sencillos pasos a continuación, puede tener un suministro ilimitado de maíz dulce fresco.
Lo que necesitará
- Semillas de Maíz
- Suelo
- Agua
- Fertilizante
- Herramientas comunes de jardinería
Tipos de Maíz Dulce
El maíz dulce es el tipo de maíz más fácil y sabroso de cultivar. Algunas otras variedades de maíz incluyen palomitas de maíz, alimento para animales, maíz enano y maíz decorativo. El maíz dulce viene en numerosos tipos. Algunos de los mejores se enumeran a continuación.
Maíz Súper Dulce
Si desea maíz dulce cuyo sabor dulce dure días después de la cosecha, intente cultivar una variedad súper dulce.
Maíz estándar
El maíz estándar tiene el sabor a maíz normal que todos conocemos y amamos. Es más vigorosa que las variedades súper dulces pero retiene el dulzor por menos tiempo.
Variedades mejoradas con azúcar
Una combinación de maíz súper dulce y maíz regular que combina la dulzura y el vigor de los dos tipos.
Variedad sinérgica
Este tipo de maíz dulce produce granos mejorados con azúcar y granos súper dulces en la misma mazorca.
Cómo cultivar maíz dulce
Primer paso:Aquí viene el maíz
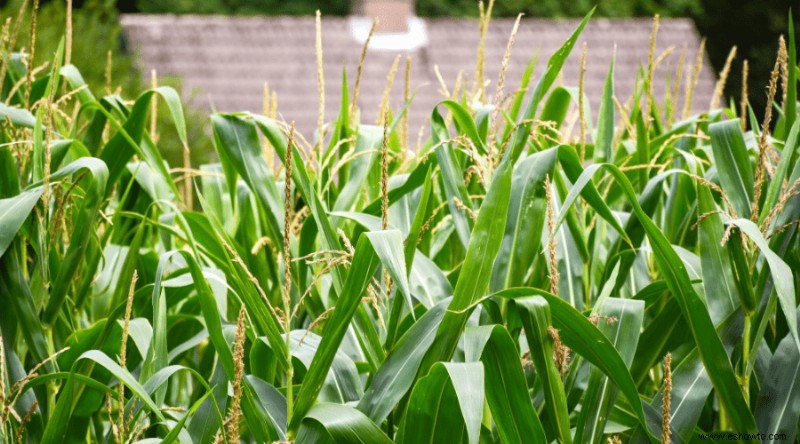
Al maíz le encanta la luz del sol, así que elige un lugar que reciba sol la mayor parte del día. El maíz no crece bien en suelos pesados, ya que los suelos pesados bloquean sus raíces primarias, así que use un suelo arcilloso y bien drenado.
El pH del suelo debe oscilar entre neutro y ligeramente ácido. Debe fertilizarse adecuadamente con un fertilizante con alto contenido de nitrógeno antes de plantar el maíz.
Su suelo debe tener al menos 60 F antes de plantar el maíz. No debería haber absolutamente ninguna amenaza de heladas, así que considere plantar dos semanas después de la última helada. Si planta demasiado pronto, su rendimiento será dramáticamente menor.
Consejo profesional:si vives en un clima más frío y estás ansioso por sembrar el maíz, cubre la tierra con bolsas de basura negras para que se caliente más rápido.
Paso dos:Planta tu maíz
Debe plantar sus semillas de maíz en bloques para que el maíz pueda ser más efectivo en la copolinización. Las borlas masculinas deben poder polinizar las sedas femeninas, y la formación de un bloque lo permite.
Los bloques deben tener al menos 3 filas de ancho, con 2 a 3 pies entre las filas. Dentro de las filas, debe haber al menos 6 pulgadas entre cada planta de maíz, y las semillas deben plantarse a unas 1,5 pulgadas por debajo del suelo. Si eso le parece demasiado maíz, puede limitarse a un par de plantas y polinizar a mano.
Planta tres semillas juntas. Esto aumentará la probabilidad de germinación ya que la tasa de germinación del maíz dulce es del 75%.
 Consejo profesional:el maíz no se trasplanta bien, lo que puede ser un fastidio para los jardineros con temporadas de crecimiento cortas. Si necesita comenzar su maíz en el interior, use una maceta biodegradable para no perturbar las raíces del maíz.
Paso tres:cuida tu maíz
El ciclo de vida del maíz puede ser de 2-3 meses. A lo largo de su ciclo de vida, querrá regar bien la planta con 1 pulgada de agua una vez por semana. Debes regar la superficie del suelo sobre las raíces. Si las hojas comienzan a rizarse o las mazorcas comienzan a hincharse, riega más el maíz.
Cubra la tierra alrededor de su maíz para ayudarlo a retener la humedad en el clima cálido en el que prospera y para mantener el área libre de malezas.
Las semillas germinarán aproximadamente una semana después de haber sido plantadas. Aclare sus plantas para que solo haya una cada 15 pulgadas. Puede eliminar las plántulas cortándolas a nivel del suelo
Una vez que su planta de maíz alcance una altura de 8 pulgadas, agregue un fertilizante rico en nitrógeno, como compost o estiércol. Vuelva a aplicar el mismo fertilizante cuando a su planta de maíz le crezcan espigas.
Paso cuatro:Proteja su maíz
No solo a los humanos les encanta el maíz, también atrae a las plagas como un imán.
Rocíe su maíz con pesticidas orgánicos como Bt (Bacillus thuringiensis ) para mantener a raya a los insectos.
Los animales también intentarán llegar a tu maíz. Puedes considerar colocar jaulas, cercas, usar un espantapájaros y otros métodos para disuadirlos. Para protegerse de las enfermedades, considere plantar una variedad de maíz que sea resistente a las enfermedades.
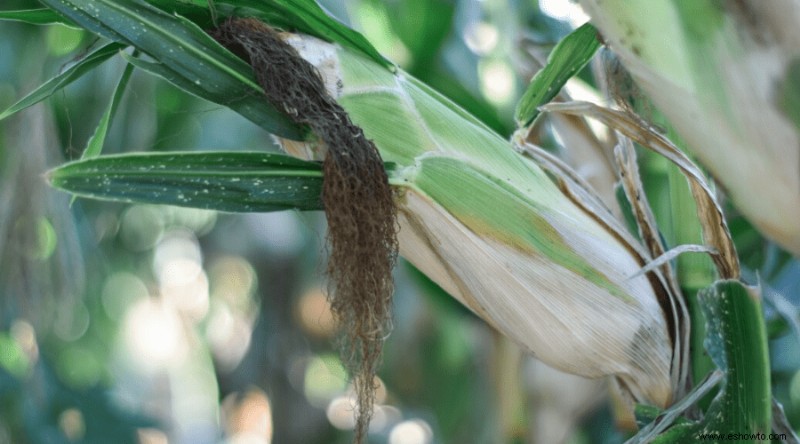
Sin embargo, lo más importante es estar atento a la obscenidad. It looks like what it sounds like- a grayish-black fungus. Smut can destroy your corn harvest if it isn’t spotted soon enough. If you do not remove it, and the infected corn, it will burst, infecting all of your corn plants.
Step Five:Harvest Your Corn
When is sweet corn harvested? Corn is ready for harvest 2-3 months after it is planted in late summer and early fall. It is time to harvest your corn when the ears turn dark green and the tassels turn brown. The ear should be fat at this point with a rounded, not pointed, tip. Peirce a kernel, preferably with a fingernail. If the kernel spurts milky liquid then your corn is ready to harvest.
But, how do you harvest corn? Corn is extremely easy to harvest! Simply take the corn ear in one hand, and the stalk in your other. Grab the corn ear and twist it to the side, pulling down. It should come off the stalk.
Step Six:Enjoy Your Corn
Now that you have harvested your corn, there are so many delicious corn recipes to choose from! Enjoy your corn boiled, baked, grilled, loaded with butter, or however else you may want to devour it.
Do keep in mind though that you should eat and store your corn immediately after harvest. Its sweetness will fade quickly after you harvest it because the sugar in the kernels will immediately start turning to starch.
If you don’t feel like eating a boat-load of corn right away, you can blanch and freeze your corn so that you can enjoy it throughout the year.
Alternative Methods for Growing Corn at Home
Grow Corn From the Cob
You can grow corn from the ears of your previous harvest!
It is a good idea to take seeds from as many ears as possible to avoid inbreeding.
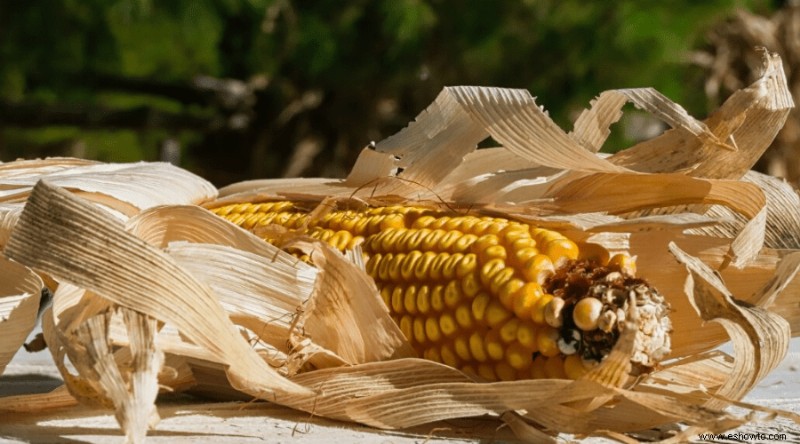
When harvest time comes around don’t harvest some of your corn. Let the cobs dry out, leaving them on their stalks until the kernels won’t dent when you try to pierce them with your nails. If they are not dry yet when a frost comes, pull the stalks out by their root and hang them upside down inside until they dry.
Once the corn is completely dry, remove the husks, and then remove the kernels. You can do this by pushing them off the cob with your thumb onto a tray. Let them dry on the tray for a couple more weeks.
They may have some debris on them at this point which you can get off of by pouring them from one tray to another in front of a fan. Make sure someone you don’t like is standing in front of the fan.
When finished, store your kernels in an airtight container. You can then plant them next spring.
Grow Corn in a Container
If you don’t have garden space for corn, you can grow it fairly easily in a container. The only catch? It needs to be a BIG container.
Something like a large storage tub or a box container that is at least a few feet tall, wide, and long. Your container should be able to hold at least 3 rows of 3 or more plants to ensure proper pollination. Once you choose your container, make drainage holes in the bottom of it for water to flow through. Then, add bricks to the bottom to weigh down the container but do not cover up the drainage holes.
¿Por qué? Because corn is a heavy plant so the threat of your container tipping over is a real one. The average corn stalk can grow to be 8 feet tall which is, frankly, too tall for a container. You are going to want to choose a short dwarf variety of corn, like Great Bantam or Precocious. These will only grow to be 5-6 feet tall and their ears will be about 7 inches long.
The plants should be planted in the container’s soil 2 inches deep, 4 inches apart, in rows that are 8 inches apart. Thin the seedlings once they sprout to be 6-8 inches apart. Container plants do need more water than plants in the ground. Make sure you keep the soil moist, but not wet, watering when the top inch of soil starts to dry. Also, the container should absolutely be in a spot with sunlight.
Otherwise, you can follow all of the directions for how to grow sweet corn below!
Continuous Growing
By using a continuous growth strategy, you can have fresh corn to harvest for months!
One continuous growing strategy is staggering planting your corn. Every couple of weeks plant a new round of corn.
Another strategy is planting different kinds of corn, with 60-day, 70-day, and 90-day growing cycles. However, do be wary of cross-pollination if you use this strategy.
To avoid cross-pollination, plant your different varieties of corn far away from each other, 400 yards apart, or, if you don’t own an estate, plant your different varieties of corn so they tassel two weeks apart from each other.
Conclusión
Now you know everything that you need to for successfully growing corn in your backyard. You have the keys to the kingdom of corn, an endless supply of this golden fruit is available to you, grow it wisely, and most importantly, savor eating it!
Keep in mind:Corn is always best when enjoyed outside with family and friends. ¡Espero que disfrutes este tutorial! If you did, be sure to share it, and let me know what you thought about it in the comments.